
After much research and much angst, I decided to go with Northern Polytunnels for a 16ft X 35ft “hobby” tunnel. I opted for a non-commercial tunnel for a few reasons: saving some money, allowing for an easier installation, but also maintaining a decent structural integrity which their tunnels famously exhibited and so should theoretically mean they would last – especially in this relatively sheltered area of the walled garden. All of the optional internal support bars were included, and also all the parts for ventilation running along both sides. Opinions across the internet for these tunnels were unanimously positive.
All components in these tunnels are made of aluminium, which helps to avoid any potential future wood rot, since most other companies usually provide some wooden components usually relating to the doors, or to the side ventilation. The only downside is that aluminium can look perhaps less “characterful” – though I can always design and build my own doors if I want to, theoretically anyway.
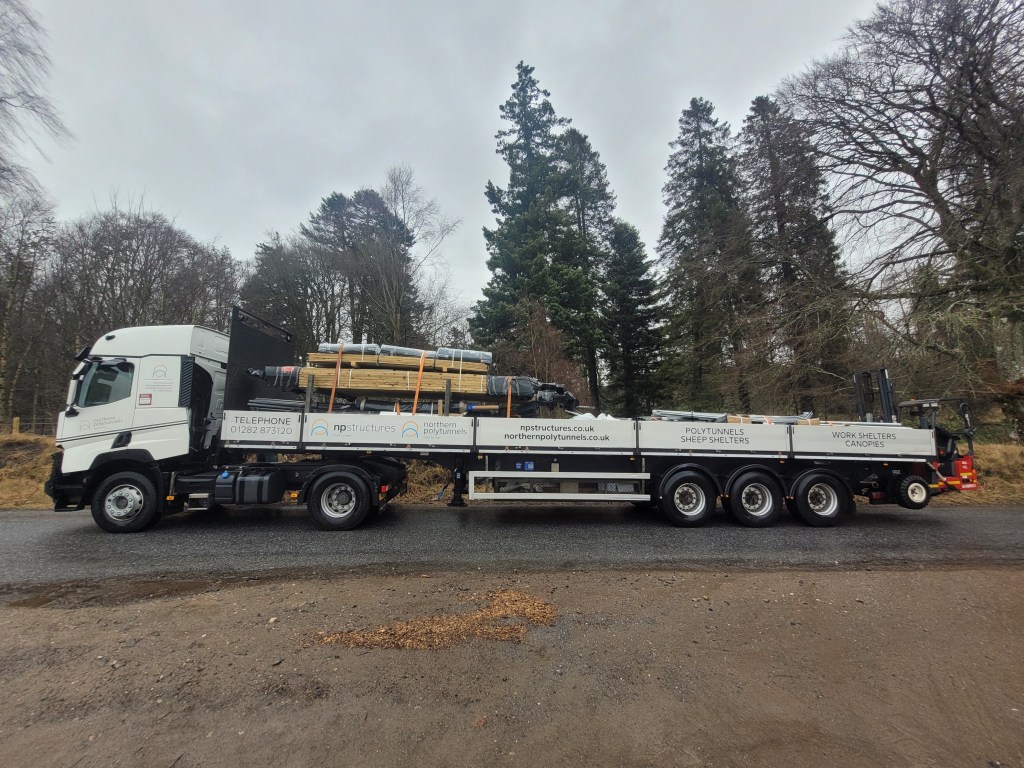
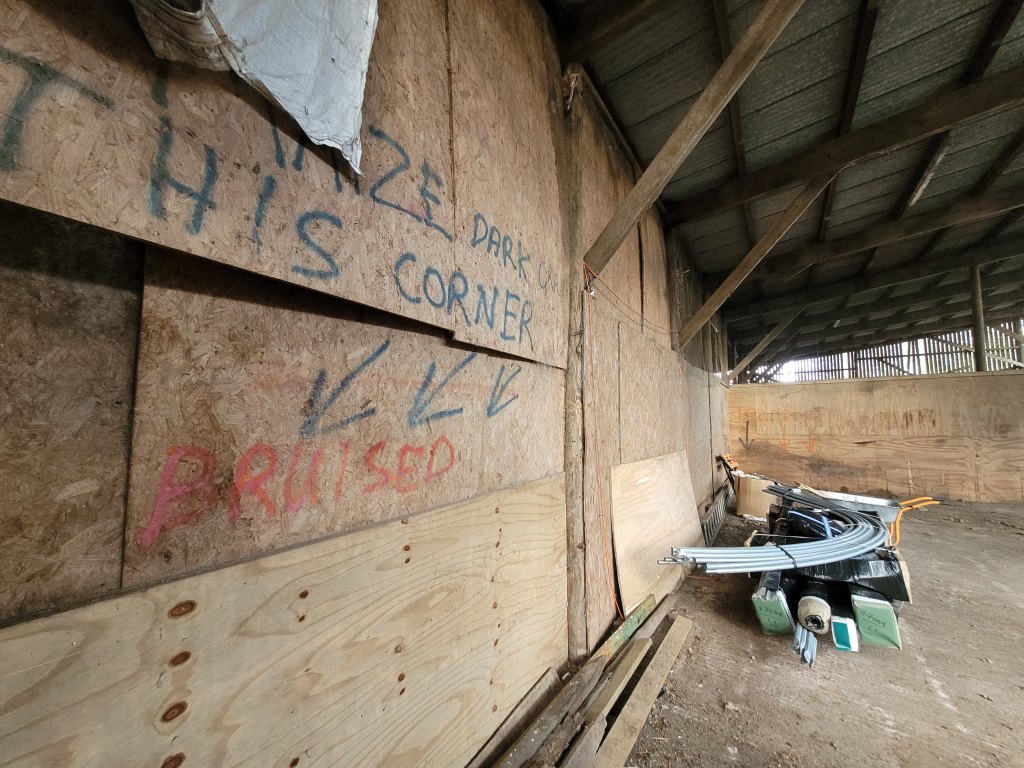
It all arrived on a large truck in late February. I was worried that it would be difficult/impossible to transport the pallet to the walled garden which is 1km from the road along one of the bumpy narrow bendy Bamff drives. But the driver had a nifty rugged fork-lift that detached from the truck like a moon lander from the mothership, and dumped into one of the cattle sheds what looked like a surprisingly small package for such a large tunnel.
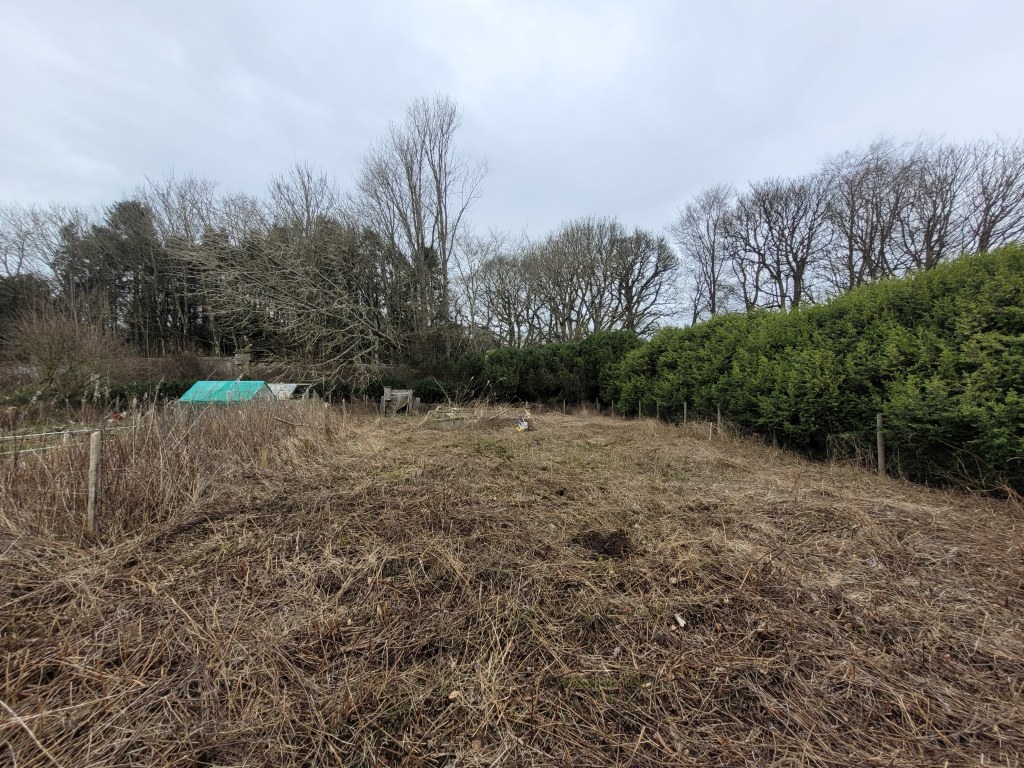
The ferocious northern winds of Storm Arwen had blasted down a huge poplar tree some months earlier preventing any work from occurring in this area. After this was finally cleared in March by specialist tree surgeons, some back breaking work began, beginning with trying to level the site manually with a spade – as there was an angle that would otherwise run along the tunnel from west to east causing potential future problems with the sliding doors at each end.
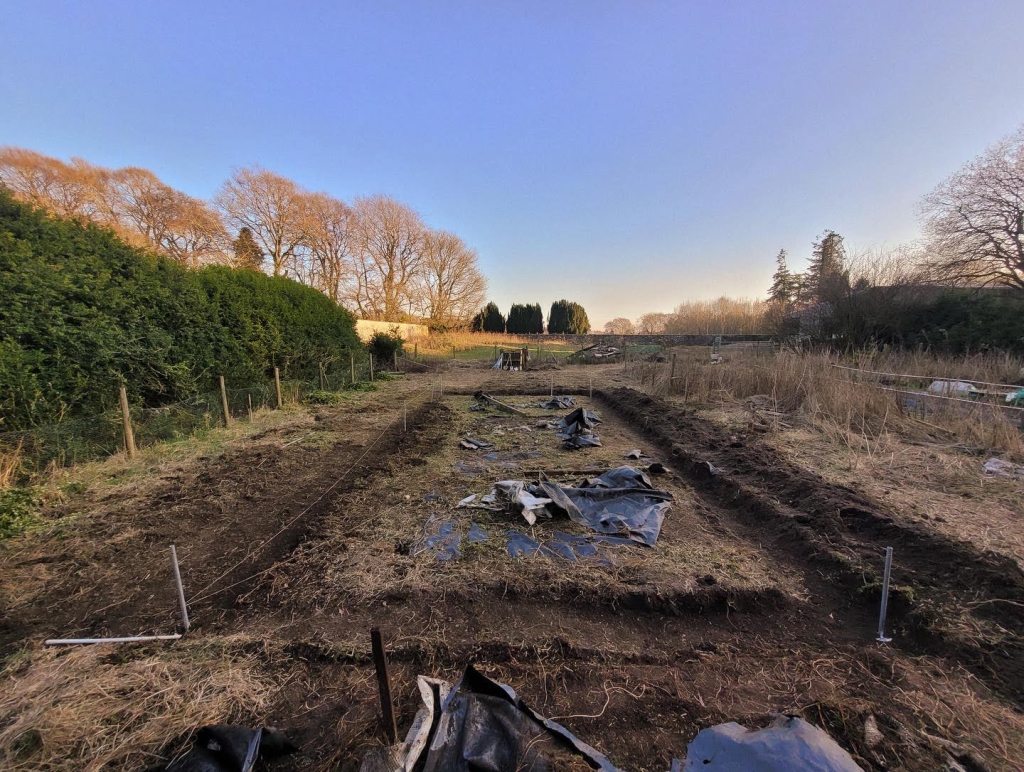
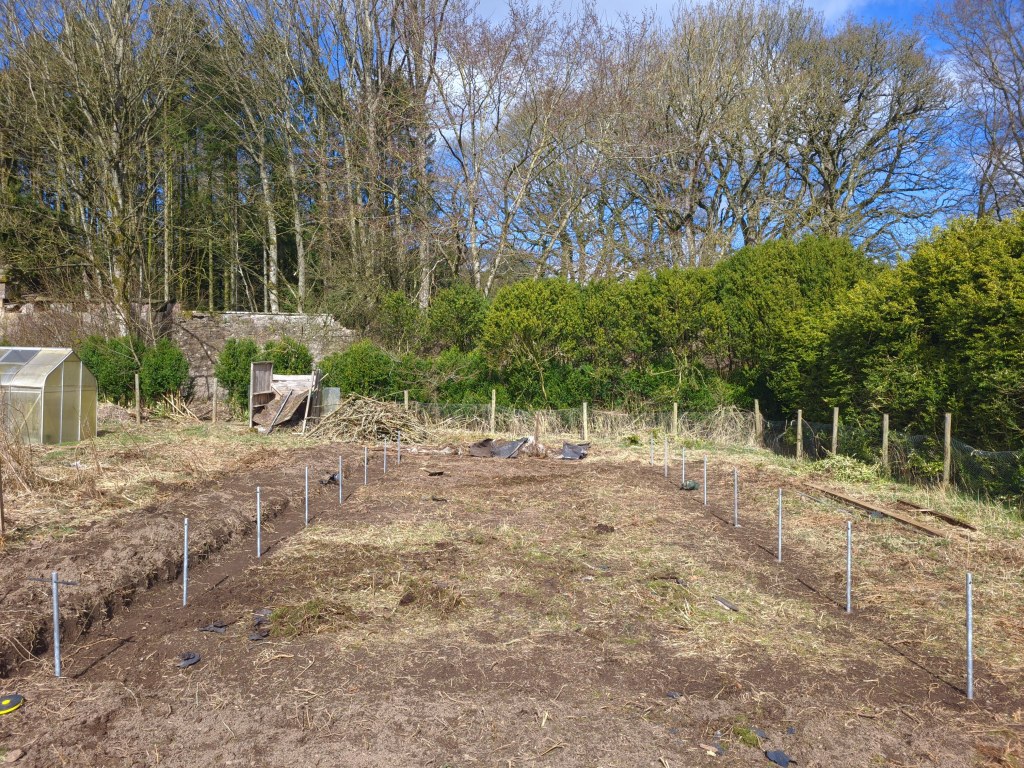
Thus, so began the measuring of distances and angles; a whole new experience for me, hampered a bit by the peculiarities of the site. After much stress, and with a little help measuring from a Bamff workaway, Adam, I took the plunge and screwed into the soil all of the corkscrew style foundation tubes, crossing my fingers that it would all be ok. Luckily it was…mostly. And the plan followed the same concept as sketched in my drawing from earlier in the year; in that the tunnel would run from north to south.
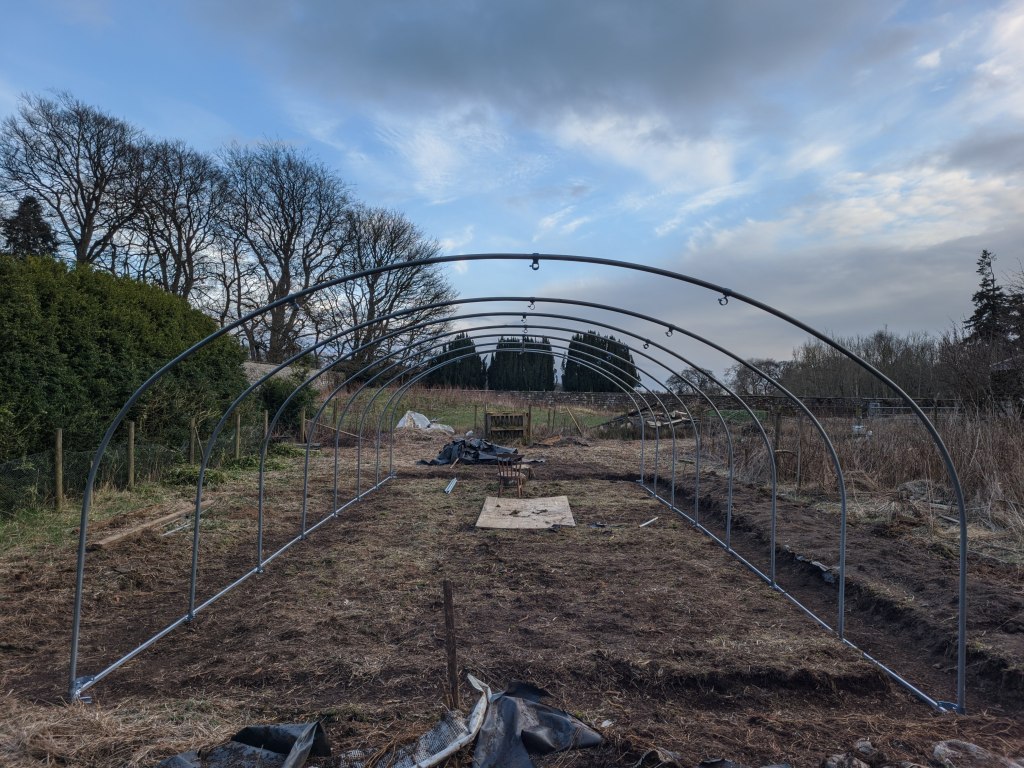
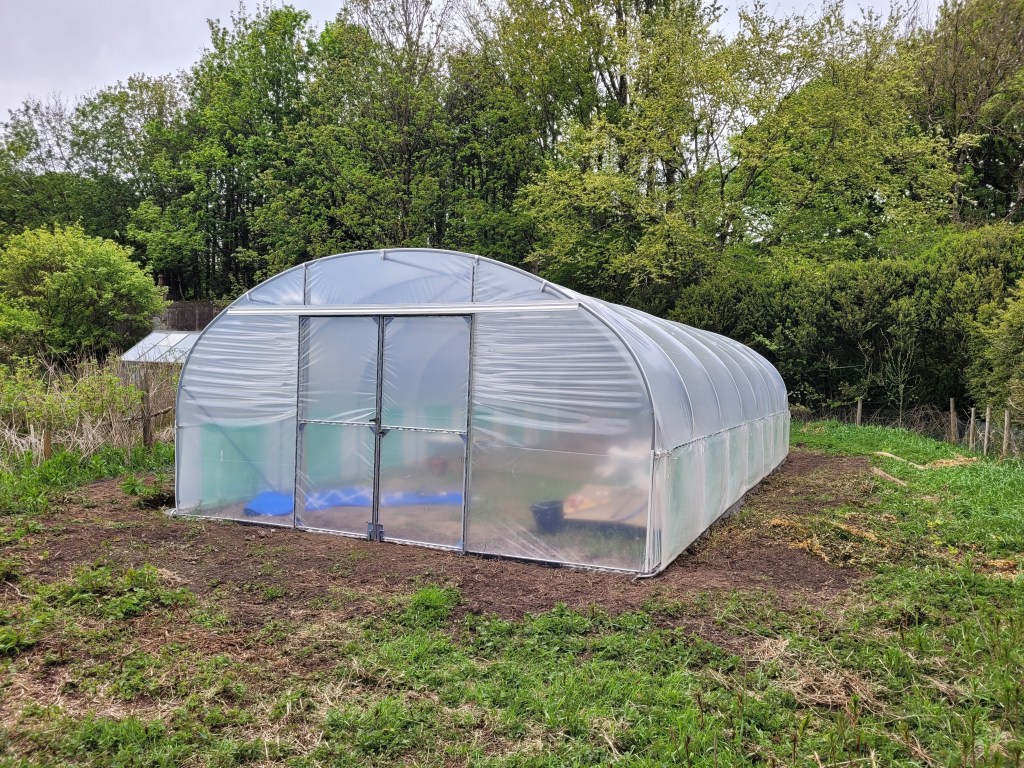
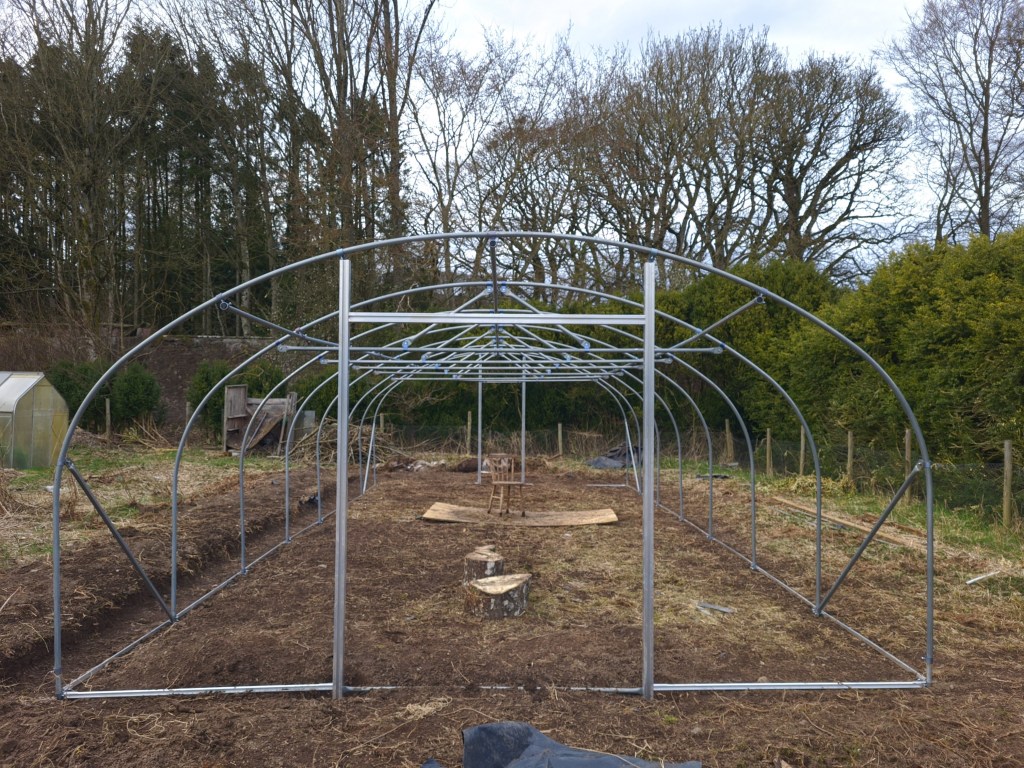
By the beginning of April the main tunnel skeleton was up, but still a long way to go to completion. A couple of weeks later, after a tortuous deciphering of some absurdly unreadable instructions, I was ready to hoist the polythene cover over it, but strong winds made this impossible for another week or so. Then on a sunny late April day I went for it, and singlehandedly managed to somehow get the polythene over the 35ft long tunnel frame – and of course managed to tear some of it, though luckily the tear appeared exactly in the area that would be later cut away for the back entrance!
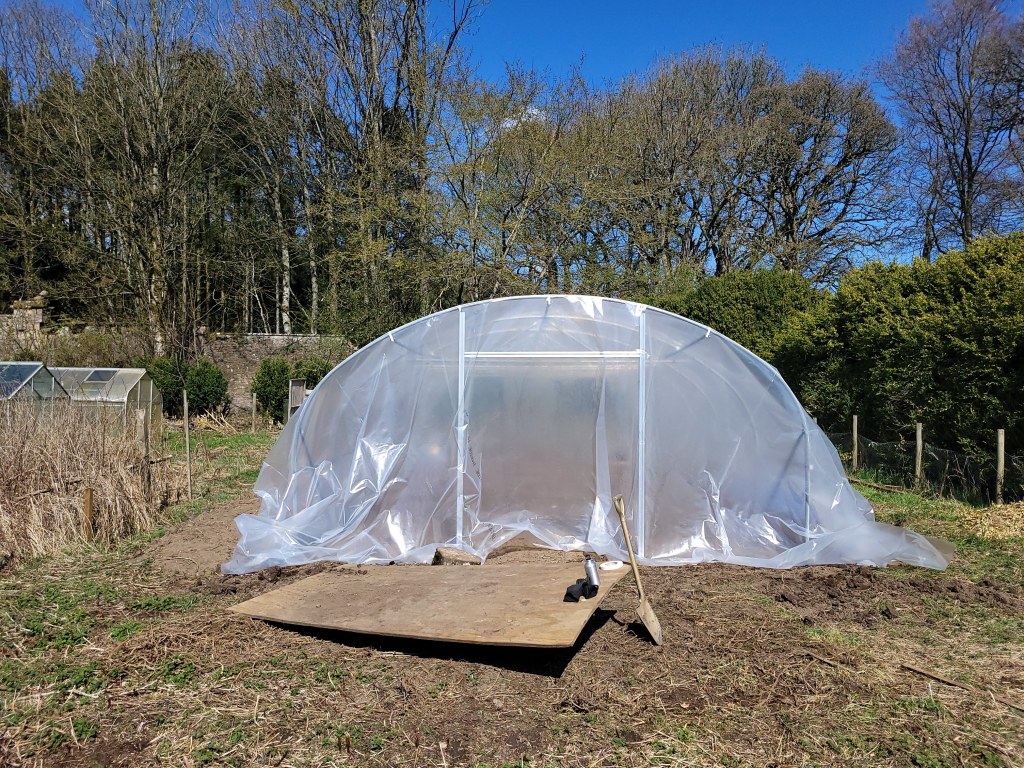
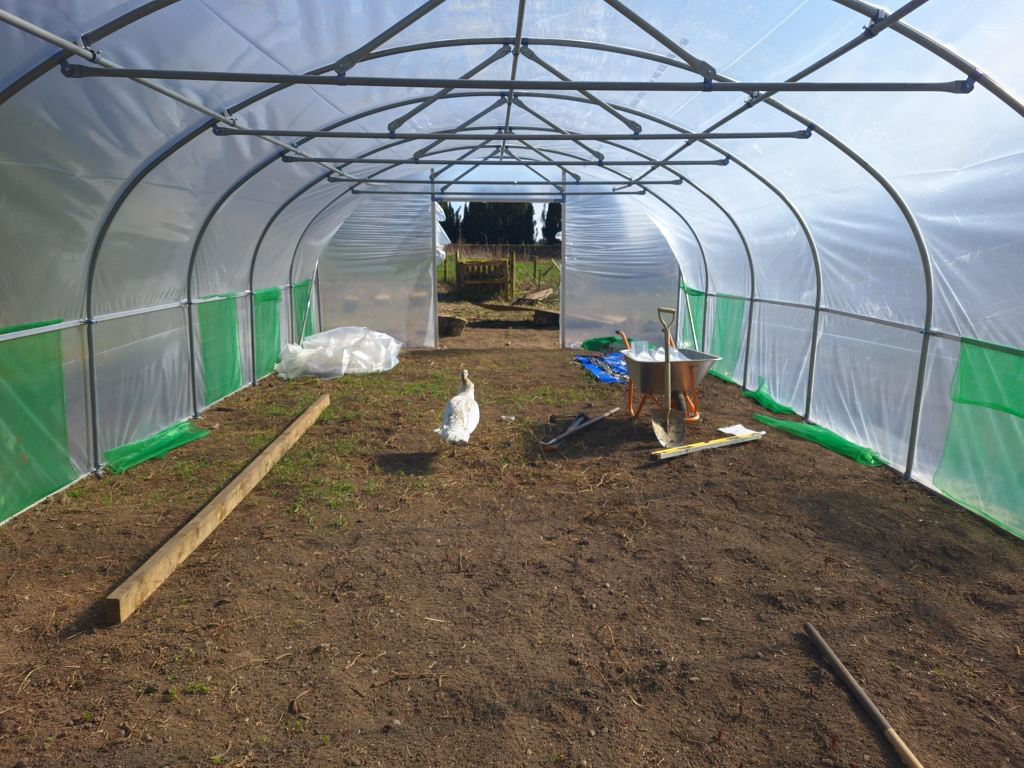
Doors were then constructed, and throughout the following week I finally finished the tunnel off, sometimes having to restart some processes all over again in frustration, especially concerning the pleating of the polythene at either end, and the construction of the slightly wonky ventilation system.
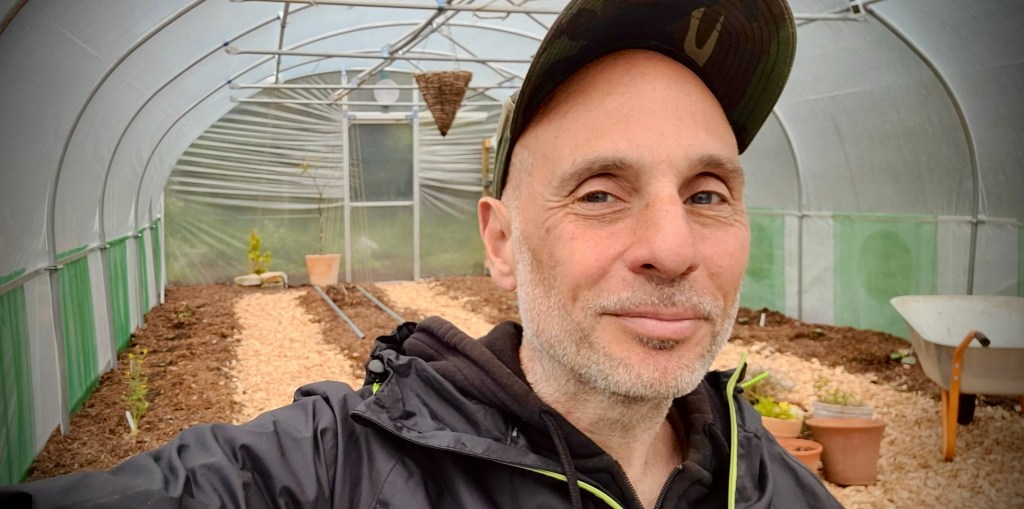
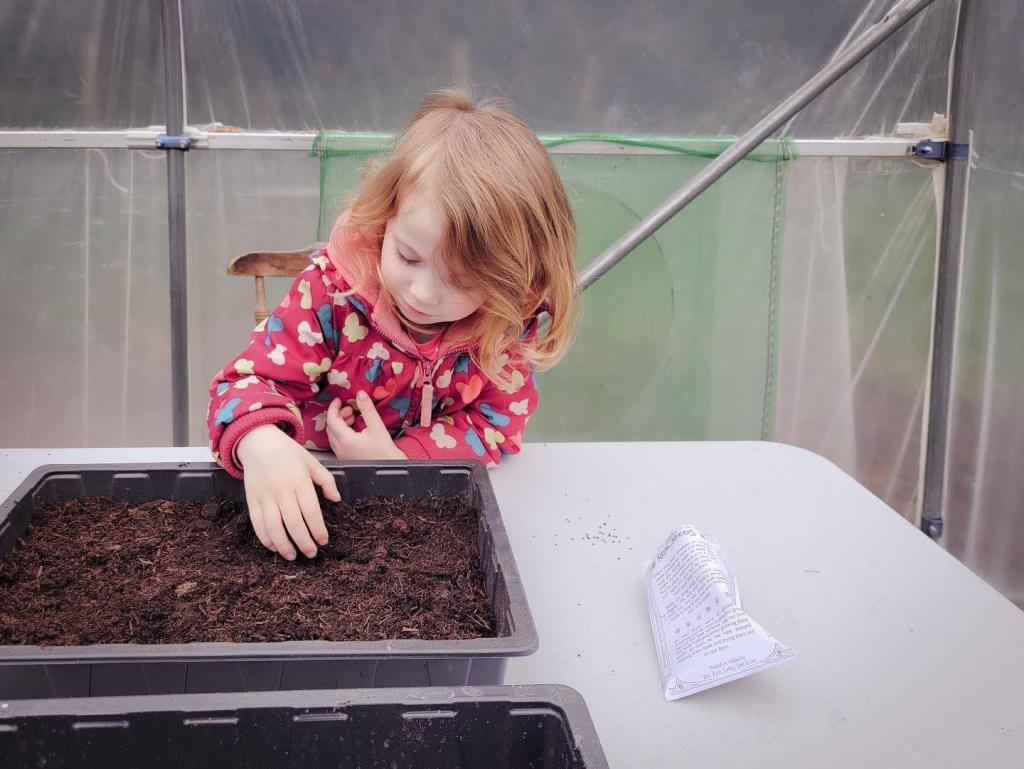
Then, on the 17th May, the first seeds were sown in the completed tunnel by my daughter Flora!
It felt like such a lengthy, at times stressful and regularly interrupted journey building this tunnel, especially as it was mostly done entirely alone. However, in the end I certainly felt a powerful sense of personal achievement, but vowed to not repeat this arduous process again …not for a very long time anyway!